

How Do You Et A Shadow Of A Face In Photoshop Cc
Shadows tin exist beautiful additions to your images. They add depth and interest. But they tin also be distracting or too harsh. In this article, I'm going to show you how to remove shadows in Photoshop.
First, I'll show yous how to remove shadows in Photoshop using the content-aware fill tools. Then, I'll show you how to reduce the harshness of shadows using layers. Finally, nosotros'll remove and reduce shadows on someone'south face.

How to Remove Shadows with Content-Aware Fill
Photoshop has a range of tools available to help you remove shadows. For removing simple shadows, I similar to use content-aware make full tools like Patch tool. This method works best when the shadow you're removing has clear lines and is beingness cast on a well-divers background.
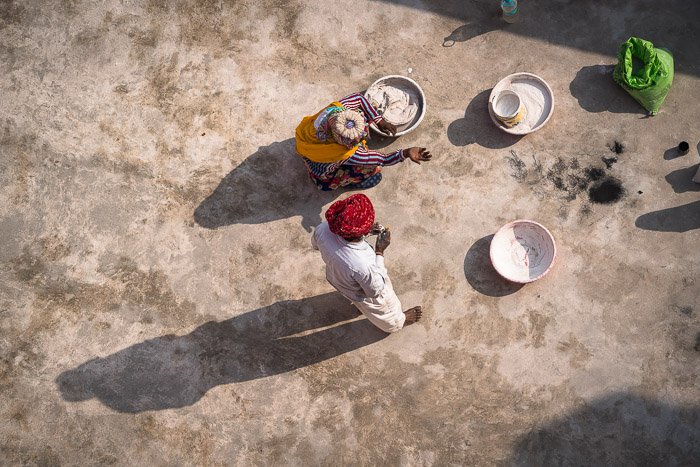
I'm going to remove the extra shadows in this image on the edges of the frame. There is an ugly dark spot in the lesser right-hand corner. At that place are also odd extra shadows coming in from the correct side of the frame.
Step i: Open up and Duplicate the Background
Open the photograph and correct-click on the background layer. Select Duplicate Layer... (Ctrl or ⌘J). This will allow you lot to edit your photos without destroying the original image.
Pace ii: Select the Patch Tool
Select the Patch tool from the toolbar on the left.
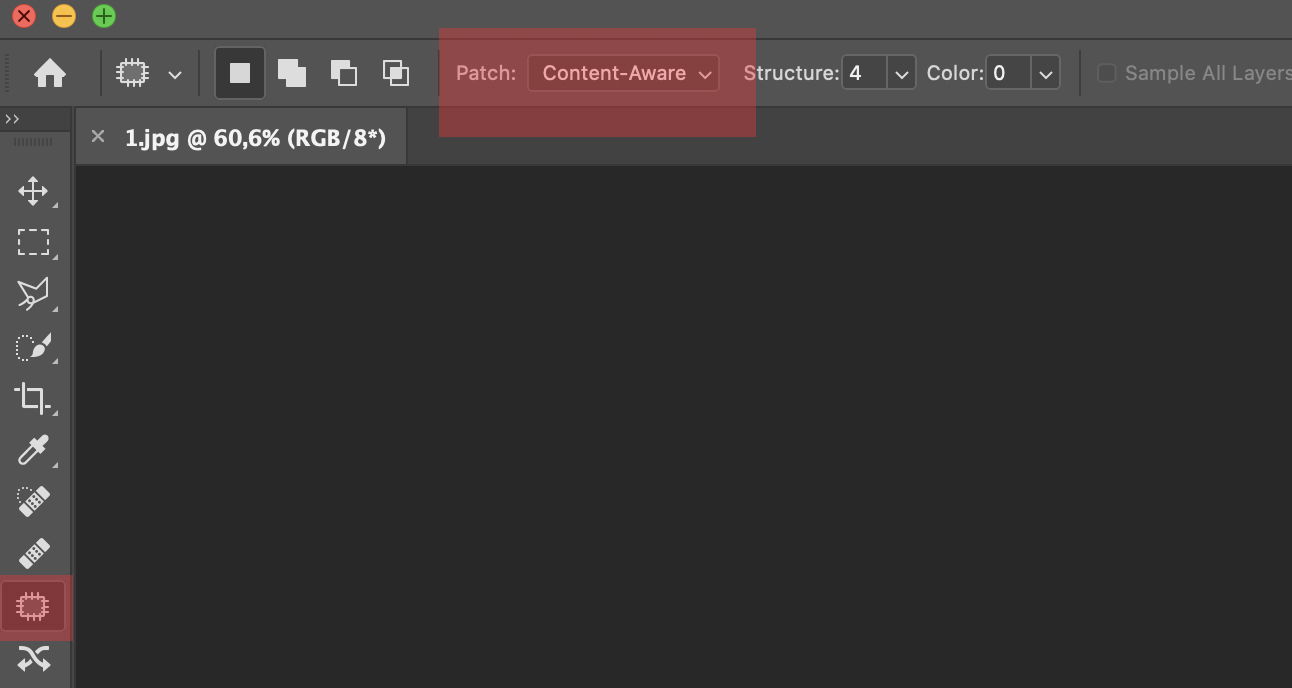
Make sure to select 'Content-Aware' in the Patch dropdown card. Past doing this, Photoshop will assistance you past creating new pixels. This will make transitions as smooth as possible.
Step three: Remove Shadows
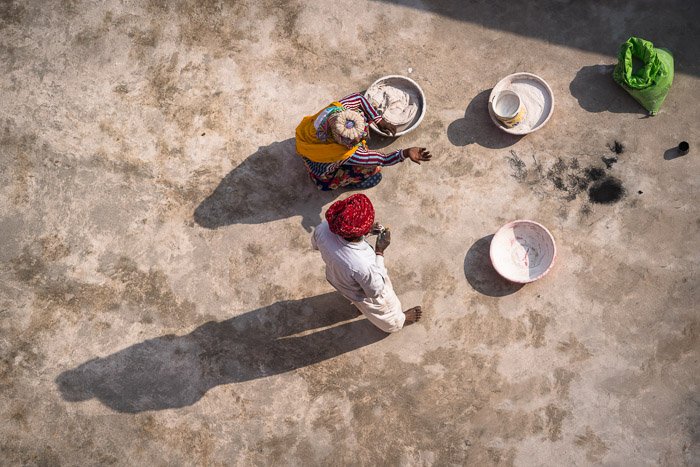
Make a selection of the shadow you lot want to remove. I'm going to start by removing the odd-shaped shadow in the bottom right-paw corner of the frame.
Drag the choice to an area that looks similar. In my case, I select an area of pavement. While dragging, you lot can see the selected surface area modify.
Let go when you're satisfied with the area yous've called, and Photoshop will smoothen it out.
If you're not getting the expect you desire, modify the Construction and Color options in the Patch toolbar. With Structure, you define how closely Photoshop should match the shapes. With Color, y'all define how much colour blending y'all want.
You may demand to clean upward the patch. Especially look for repeating patterns. These will draw the eye and call attention to your replacement. Use the Clone Postage stamp tool or the Healing Brush for detailed work.
Reduce Harsh Shadows using Layers
Sometimes the shadows are fine, merely they are just too harsh. A softer shadow would exist more pleasing.
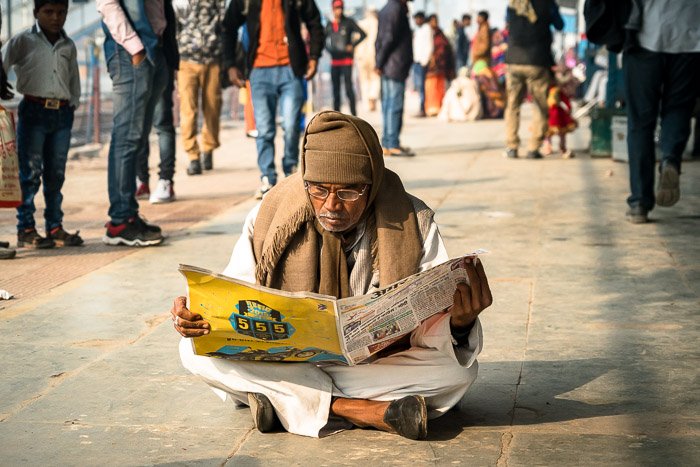
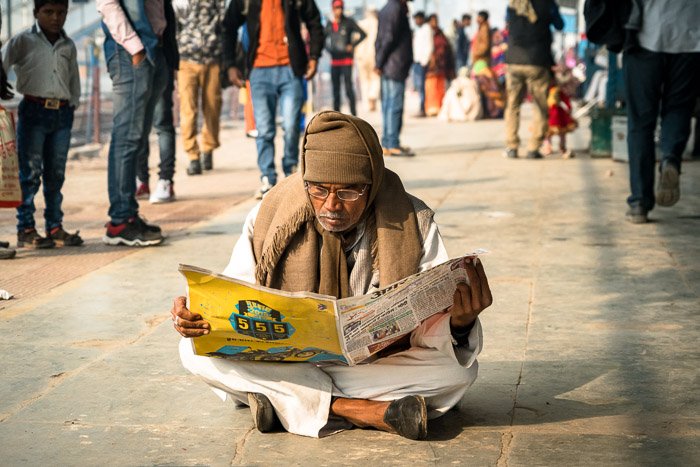
I'm going to reduce the shadow in this image of this man reading a newspaper on an Indian train platform. The shadow makes sense in the image, I just want it to exist less noticeable. I've likewise removed a petty shadow in the foreground.
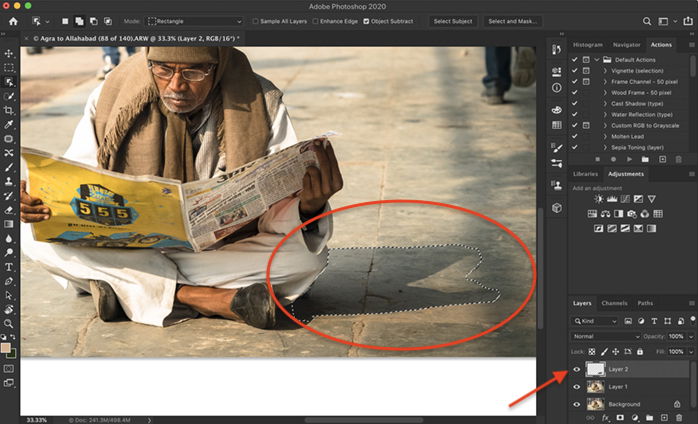
Step 1: Select the Shadow
Start past selecting the shadow. You tin can do this by using the Object Pick Tool (keyboard shortcut Due west), the Lasso, or Quick Selection – whichever allows you to isolate the shadow best.
Step 2: Copy Shadow to New Layer
Re-create the shadow to a new layer. To do this, go to Edit>Re-create (Ctrl or ⌘C). So, paste by selecting Layer>New>Layer via Copy (Ctrl or ⌘J).
Step 3: Accommodate Brightness and Temperature
The easiest way to reduce harsh shadows is to lighten them. Simply shadows are cooler than the surrounding lite, and so you'll also have to warm upwardly the temperature to alloy the shadow with the surrounding surface area.
You can do change both settings in Photoshop using the Brightness and Color Rest adjustments. But the adjustments might be easier if you employ Adobe Camera Raw (ACR). Go to Filter>Camera Raw Filter (Shift + Ctrl or ⌘A). This will open a new workspace. You lot'll have sliders similar to Lightroom.
Increase the shadow slider and warm up the temperature. Do this a trivial bit at a fourth dimension. Click OK to check the alloy.
If the shadows are really harsh, try decreasing the Clarity and Dehaze.
Removing Harsh Shadows from Faces to Meliorate an Image
In a studio, you lot can command where the light falls. Simply in street and travel photography sometimes the light falls awkwardly across someone's face or body.
When removing or reducing shadows beyond a face, you'll need a detailed tool and a lot of patience.
The Clone Postage stamp tool in Photoshop is perfect when you want more control over what you do when removing shadows from photos. If I'grand looking just to reduce the shadow, I utilise the Dodge Tool. I'll show you both techniques for removing harsh shadows from faces in Photoshop.
Remove Harsh Shadows with the Clone Tool for More Control
With the Clone Postage tool, I'one thousand going to remove shadows with a similar, just not shaded, section of the confront. This image is a flake tricky because the woman is wearing a Venetian mask with texture and detail. I'm going to take to search the mask to notice details that friction match the shaded department. Almost faces will be simpler to clone.


Pace 1: Open and Duplicate the Background
Open the photo and correct-click on the groundwork layer. Select Indistinguishable Layer... (Ctrl or ⌘J).
Footstep 2: Select the Clone Postage Tool
Click on the Clone Postage stamp in the toolbar on the left. It looks like a rubber postage stamp.
Pick a soft medium-sized brush. A soft castor will get you lot the all-time outcome because of the smoothen edges. You can easily change the brush size by using the bracket keys. "[" volition decrease your brush size. "]" will increase your brush size.
If I'm only trying to reduce, rather than remove shadows, I decrease the Opacity of the Clone tool to around l%.
Step three: Select the Clone Source
Select a non-shaded area of the confront. Press the Alt or Option key and click to confirm the source pixels. The cursor will change into crosshairs.
The moment you click, the cursor will modify and testify the pixels yous've selected.
Stride iv: Remove Shadows from the Photo
Zoom in and commencement painting over the shadow you desire to remove. You may have to repeat Steps three and 4 repeatedly. Select pixels that are closest in content and colour to those you lot are replacing. If yous don't like the outcome, undo by going to Edit>Disengage Clone Stamp (Ctrl or ⌘Z).
For the all-time result, utilize different clone sources to embrace the shadow. If it doesn't look natural, go back and take pixels from some other part of the photo and paint once more. I besides use the Healing castor when I can.
It's of import to avoid repeating patterns. These patterns are a sign of cloning and removing an object or shadow from a photograph.
I'grand aiming for a natural look, so I often don't remove all shadows on the face. Think about where the light may have naturally accept fallen.
Reducing Harsh Shadows on Faces Using the Dodge Tool
Information technology might not be possible to remove a shadow on someone'due south face up completely, but you can reduce it using the Contrivance tool.


Step 1: Open and Duplicate the Background
Open the photo and correct-click on the background layer. Select 'Duplicate Layer...' (Ctrl or ⌘J).
Step ii: Select the Contrivance Tool
Click on the Contrivance tool in the toolbar on the left. It looks like a lollipop. In the Dodge menu, select Shadows under Range and enter between 10 and 50%. I find a trivial goes a long mode. I tin can e'er build up the dodge outcome by going over the area again.
Step iii: Paint over the Shadow
Zoom in and outset painting over the shadow you want to reduce. If y'all don't see a lot of alter, increase opacity or switch the Range to Midtones.
If yous make a mistake, go to Edit>Undo Dodge Tool (Ctrl or ⌘Z). Y'all can also switch to the Burn down tool, which looks like a clenched paw and darken the surface area again.
Decision
In this article, I showed you how to remove shadows in Photoshop. Photoshop has many tools to help you replace or reduce shadows in your photos. Yous tin remove shadows from a background or across someone'south confront.
Ever endeavour out different techniques to find out which one works best for y'all. Brand sure to avert patterns to go a natural issue.
Delve into the world of editing with our Effortless Editing in Lightroom class!
Source: https://expertphotography.com/remove-shadows-from-photos-photoshop/
Posted by: currycouldayse.blogspot.com
0 Response to "How Do You Et A Shadow Of A Face In Photoshop Cc"
Post a Comment